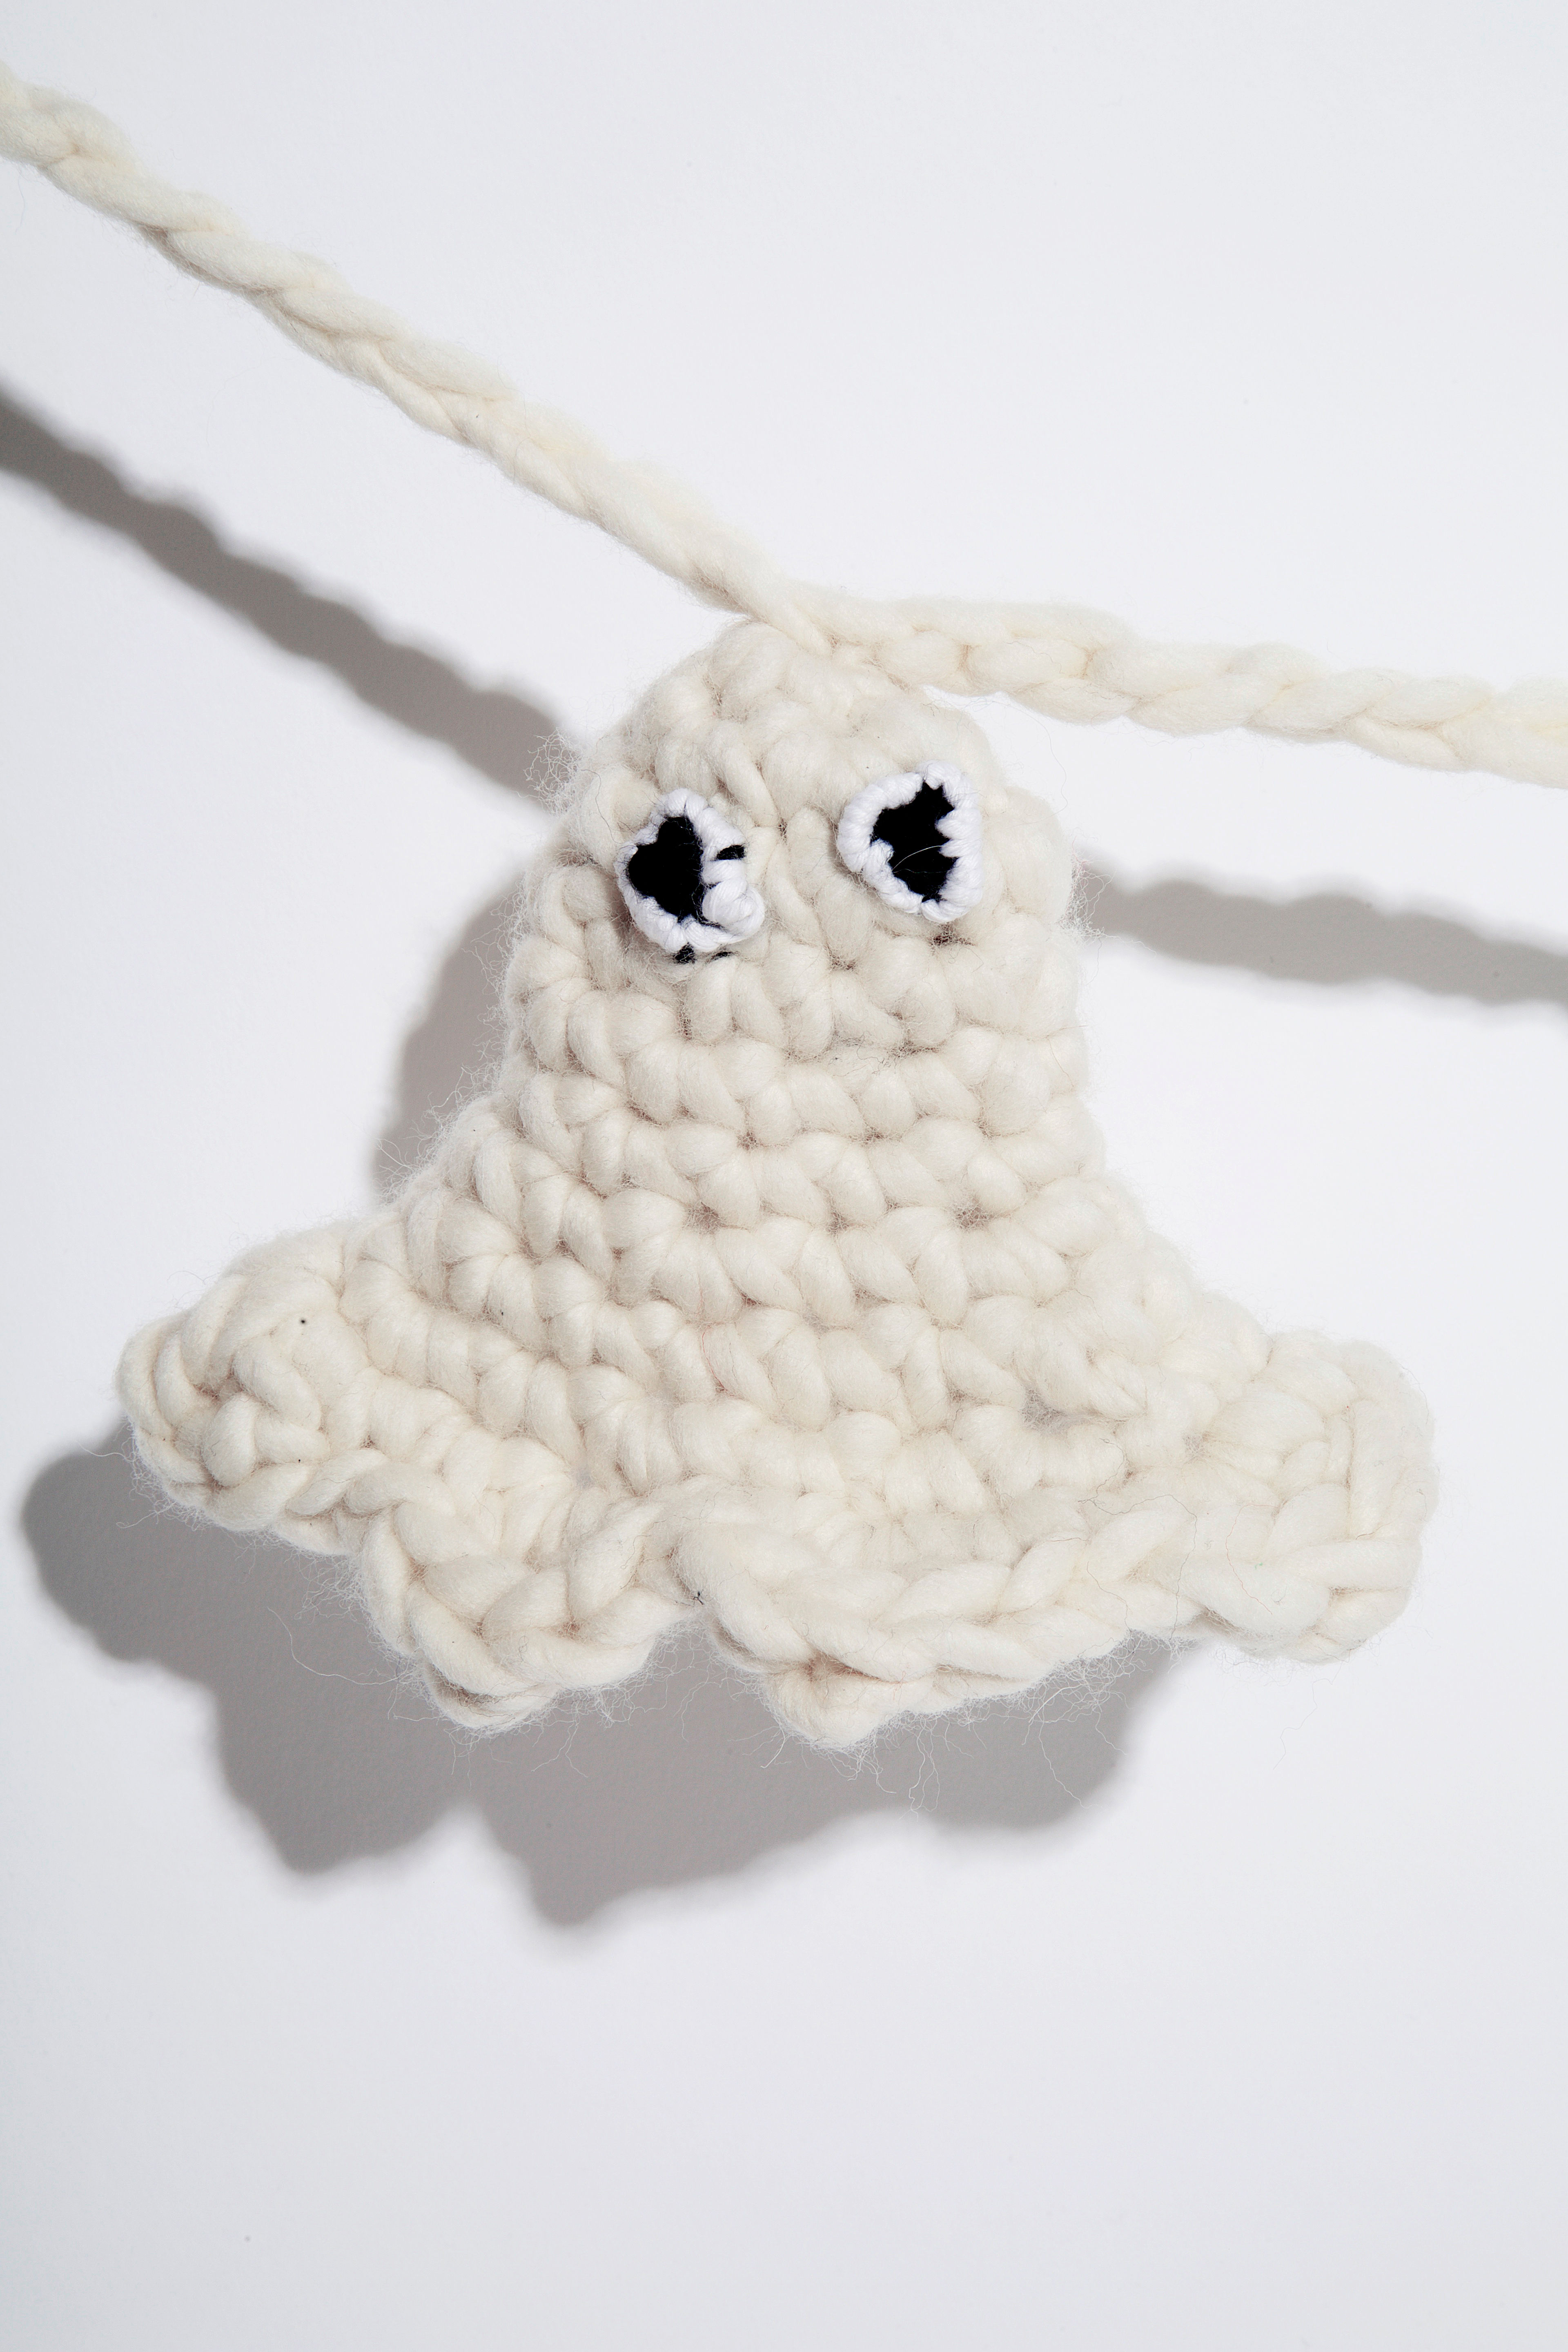
This string of spooky ghosts is nothing to be afraid of, it’s the perfect crochet project for beginners. Hang above your door or fireplace, for the ultimate woolly halloween.
For the ghost body:
Crazy Sexy Ghoul, sorry Wool, in Ivory White
Each ball will give you 3/4 ghosts, so decide how long you want your garland to be and then figure out the number of balls needed
10mm crochet hook
For the googly eyes:
Shiny Happy Cotton in Cinder Black and White Noise
5mm crochet hook
American Horror Story playing in the background
Let’s Get Making!
Each ghost is made separately, starting at the top and working down towards the bottom edge. The first technique you need to master is the magic loop, watch the tutorial here.
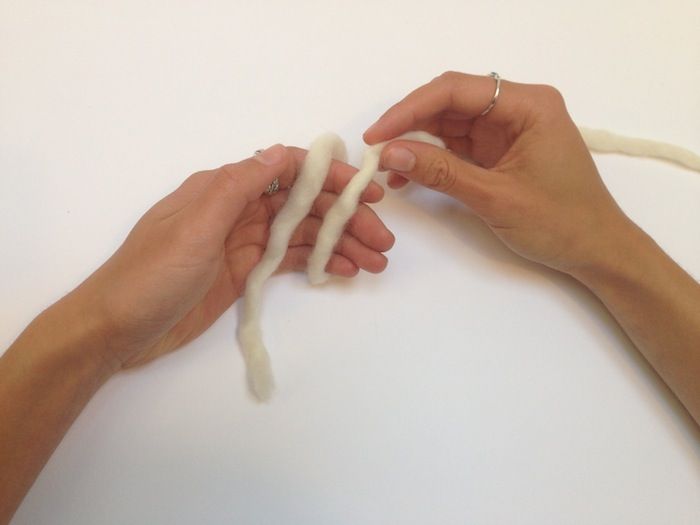
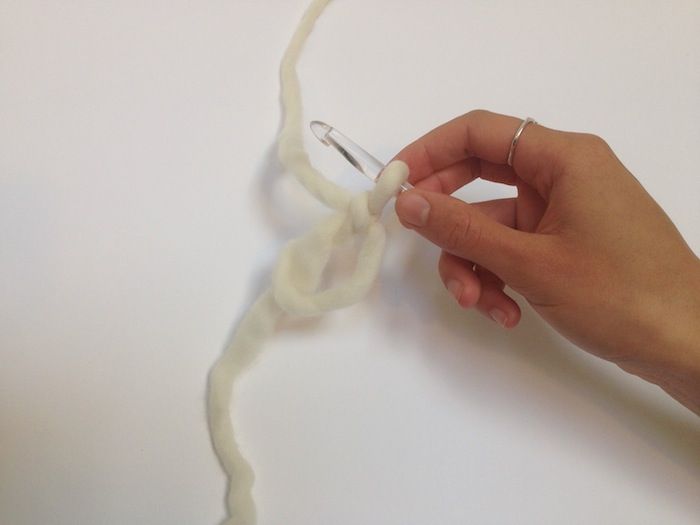
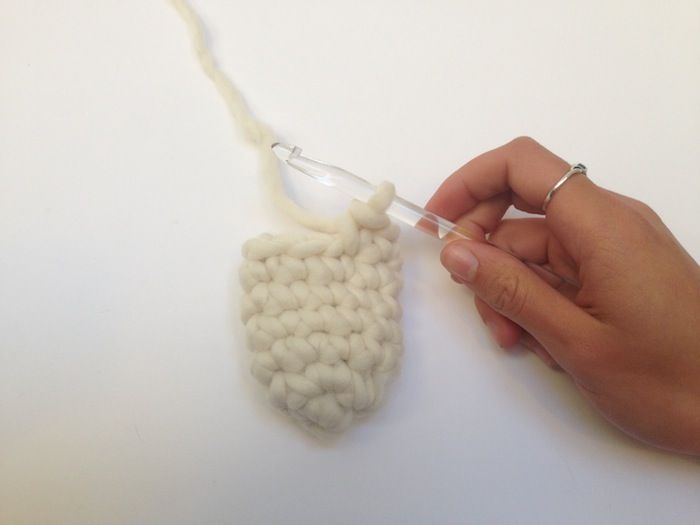
1. Holding the tail of your yarn in the palm of your left hand, wrap the yarn around your index and middle fingers so that the working yarn is now on the right. Leave a yarn tail of at least 10cm/4″ (you will need this to join your ghost to the chain later in the pattern).
2. Holding the point where the loop overlaps, insert your crochet hook into the magic loop from front to back.
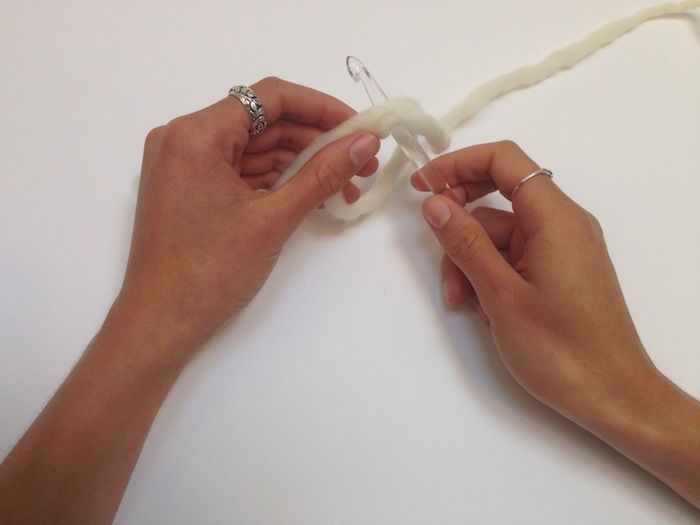
3. Loop the yarn around the hook and pull it through.
4. Make 1 chain stitch
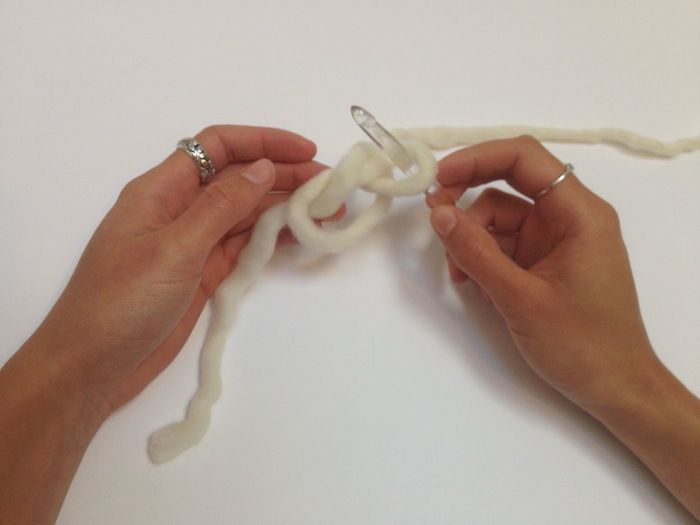
5. Insert your hook into the right again and pull the yarn through. There are now 2 loops on your crochet hook.
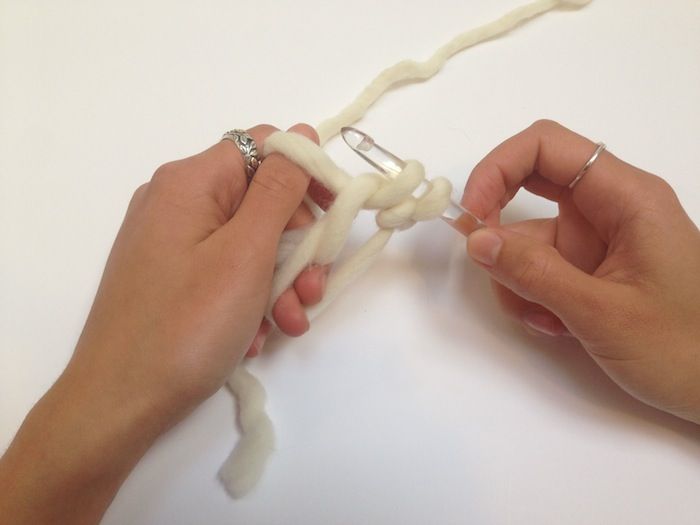
6. Loop the yarn and pull it through both loops. You have now made 1 single crochet stitch.
7. Repeat steps 5 and 6 another 4 times, so that you have 5 stitches in total.
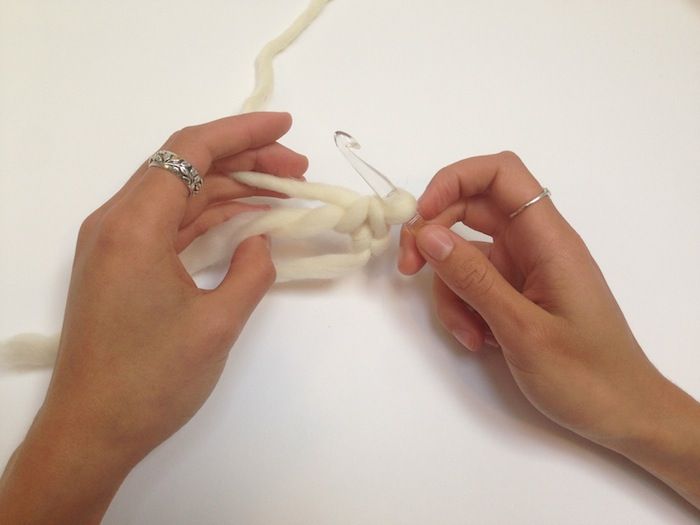
8. Join in the round by making a slip stitch into the first stitch of the round, watch the tutorial here.
You will now work in a continuous spiral.
9. Make 2 single crochet stitches into each stitch of the round (10 stitches).
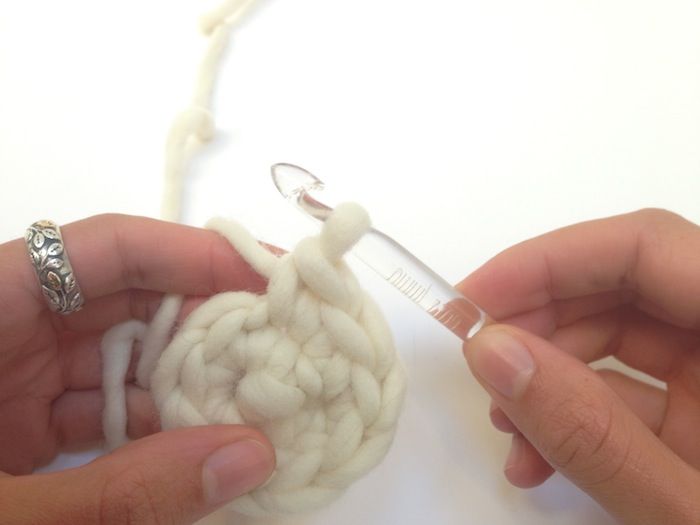
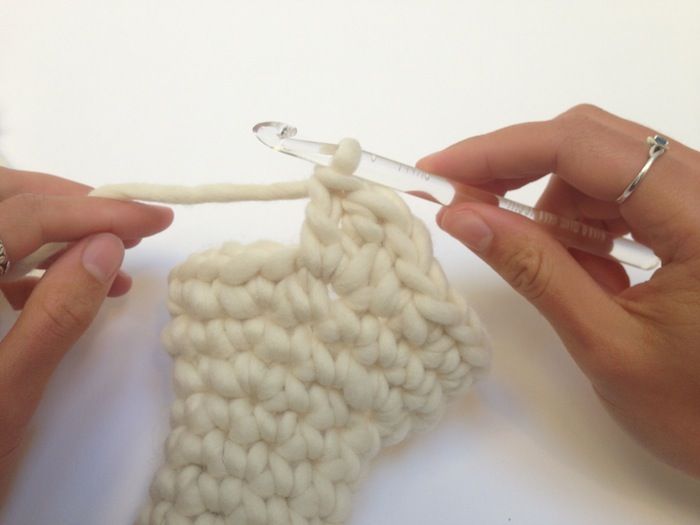
10. Work 4 rounds of single crochet
11. Working in single crochet, *work 1 regular stitch, then work 2 stitches into the next*. Repeat the sections inside the starts a further 4 times. You now have 15 stitches.
12. Work 1 round in single crochet
13. Working in single crochet, *work 1 regular stitch, then work 2 stitches into the next*. Repeat the section inside the stars twice more. Work 2 regular stitches, then repeat the section inside the stars a further 3 times, work 1 regular stitch. You now have 21 stitches.
14. You will now create the scalloped edge at the bottom of your little ghost. *Work 1 single crochet stitch, then work the following sequence into the next stitch: make 1 double crochet stitch, 1 treble crochet stitch, 1 double crochet stitch. Work 1 regular single crochet stitch*. Repeat the section inside the stars to the end of the round.
Watch the Double Crochet tutorial here.
You have now completed your first ghost – whoooop! Now it’s time to create the chain to hang the ghosts from. We’ve created 5 ghosts here, but depending on how many you want, you may need to make your chain longer.
Making Your Ghost Garland Chain
1. Working in chain stitch, make a chain measuring 140cm/55″. We left 30cm/12″ from the beginning of the chain before attaching the first ghost and the last ghost and then left 20cm in between each of the others.

Watch the tutorial for Chain Stitch here.
2. To attach the ghosts, pull through the yarn that you used when creating the magic loop at the beginning of the pattern. Then pull the yarn through one of the stitches on the chain and back through the top of the ghost.
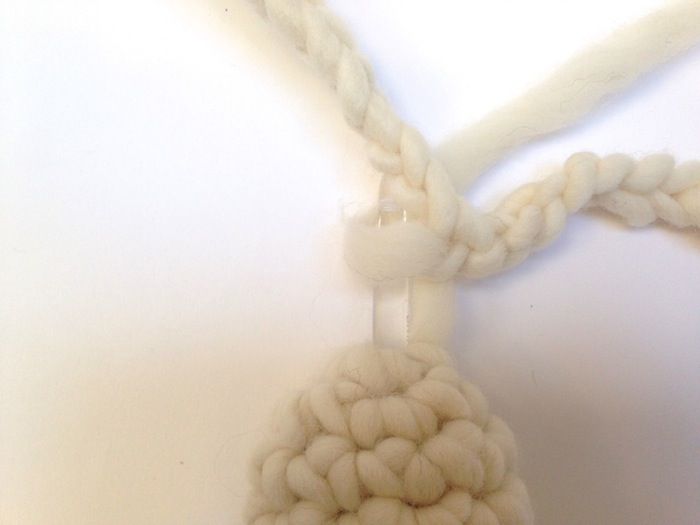
3. Secure the yarn by weaving it in around the top of the ghost twice.
Making Your Googly Eyes
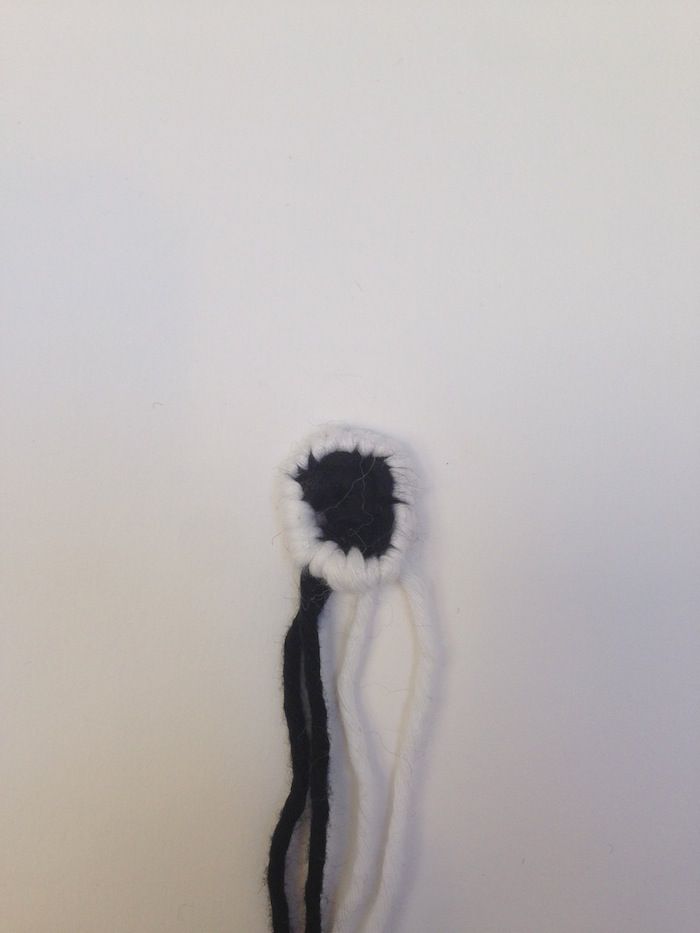
1.Using Cinder Black and switching to your 5mm hook, create a magic loop and work 4 single crochet stitches around it. Join the round by making a slip stitch into the first stitch of the round and pull yarn through.
2. Using Ivory White, work in whip stitch around the eye. The stitching isn’t supposed to be perfect as it gives it a more ghoulish look.
3. Place the eyes on your ghost and secure with a few stitches.
And finally, don’t forget to show us what you’ve made. #woolandthegang online and have a ghoulish woolly-ween!