
We teamed up with crafty queen Christine of sewyeah, to bring you the PRIDE headband of dreams.
These brightly coloured pompom headdresses are the perfect accessory for your Pride party this year. The use of tulle netting and chiffons as well as yarn makes for some interesting textures and also means you can make BIG pompoms FAST! They will also be lighter weight than a traditional yarn pompom – which is a big plus when you are dancing in them all day.
There’s no exact way to make a multicoloured fabric and wool pompom, the way you wrap the yarn and the fabric strips means each pompom will be unique depending on how many different colours of yarn and fabric you use. The instructions below are a general guide to making a pompom but experiment as you wish.
The best fabric to use is something lightweight and flimsy – cheap net tulle and chiffon comes in plenty of colours and patterns and costs around £1 a meter.
You will need
Pompom makers in small/medium/large.
Scissors.
A mix of yarns of different thicknesses and types. We’ve used Disco Down yarn in Cosmic Pink and Stardust Gold, Feeling Good Yarn in Hot Punk Pink, Lilac Powder, Ivory white, Sugar Baby Alpaca in Ultra Violet, Crazy Sexy Wool in Big Bird Yellow, Magic Mint, Loveheart Pink. All from Wool and the Gang
Tulle and chiffon fabrics approximately half a meter of each colour.
Glue gun and glue sticks
2.5cm wide Headband
To make a wool and netting pompom:
- Firstly cut the tulle or chiffon fabric down into strips so you can use them in the pompom like you would yarn. Take a piece of the tulle fabric and fold it up into a rough 10 cm rectangle. Cut the rectangle into 1cm wide strips. Repeat with all your fabrics.

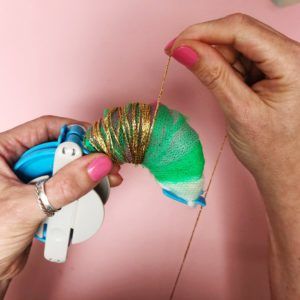
- Take the large sized pompom maker and open it out so you can work on one half of the maker. Begin filling the maker with wraps of yarn, wraps of tulle strips or wraps that combine both; to do this you simply wrap the yarn and tulle together at the same time.

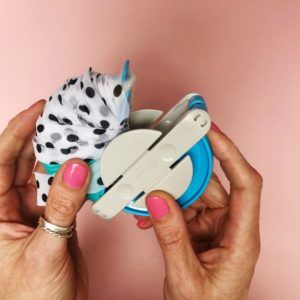
- Keep wrapping a mix of all the yarns and strips till that half of the maker is full. Close the maker and then repeat on the other side.
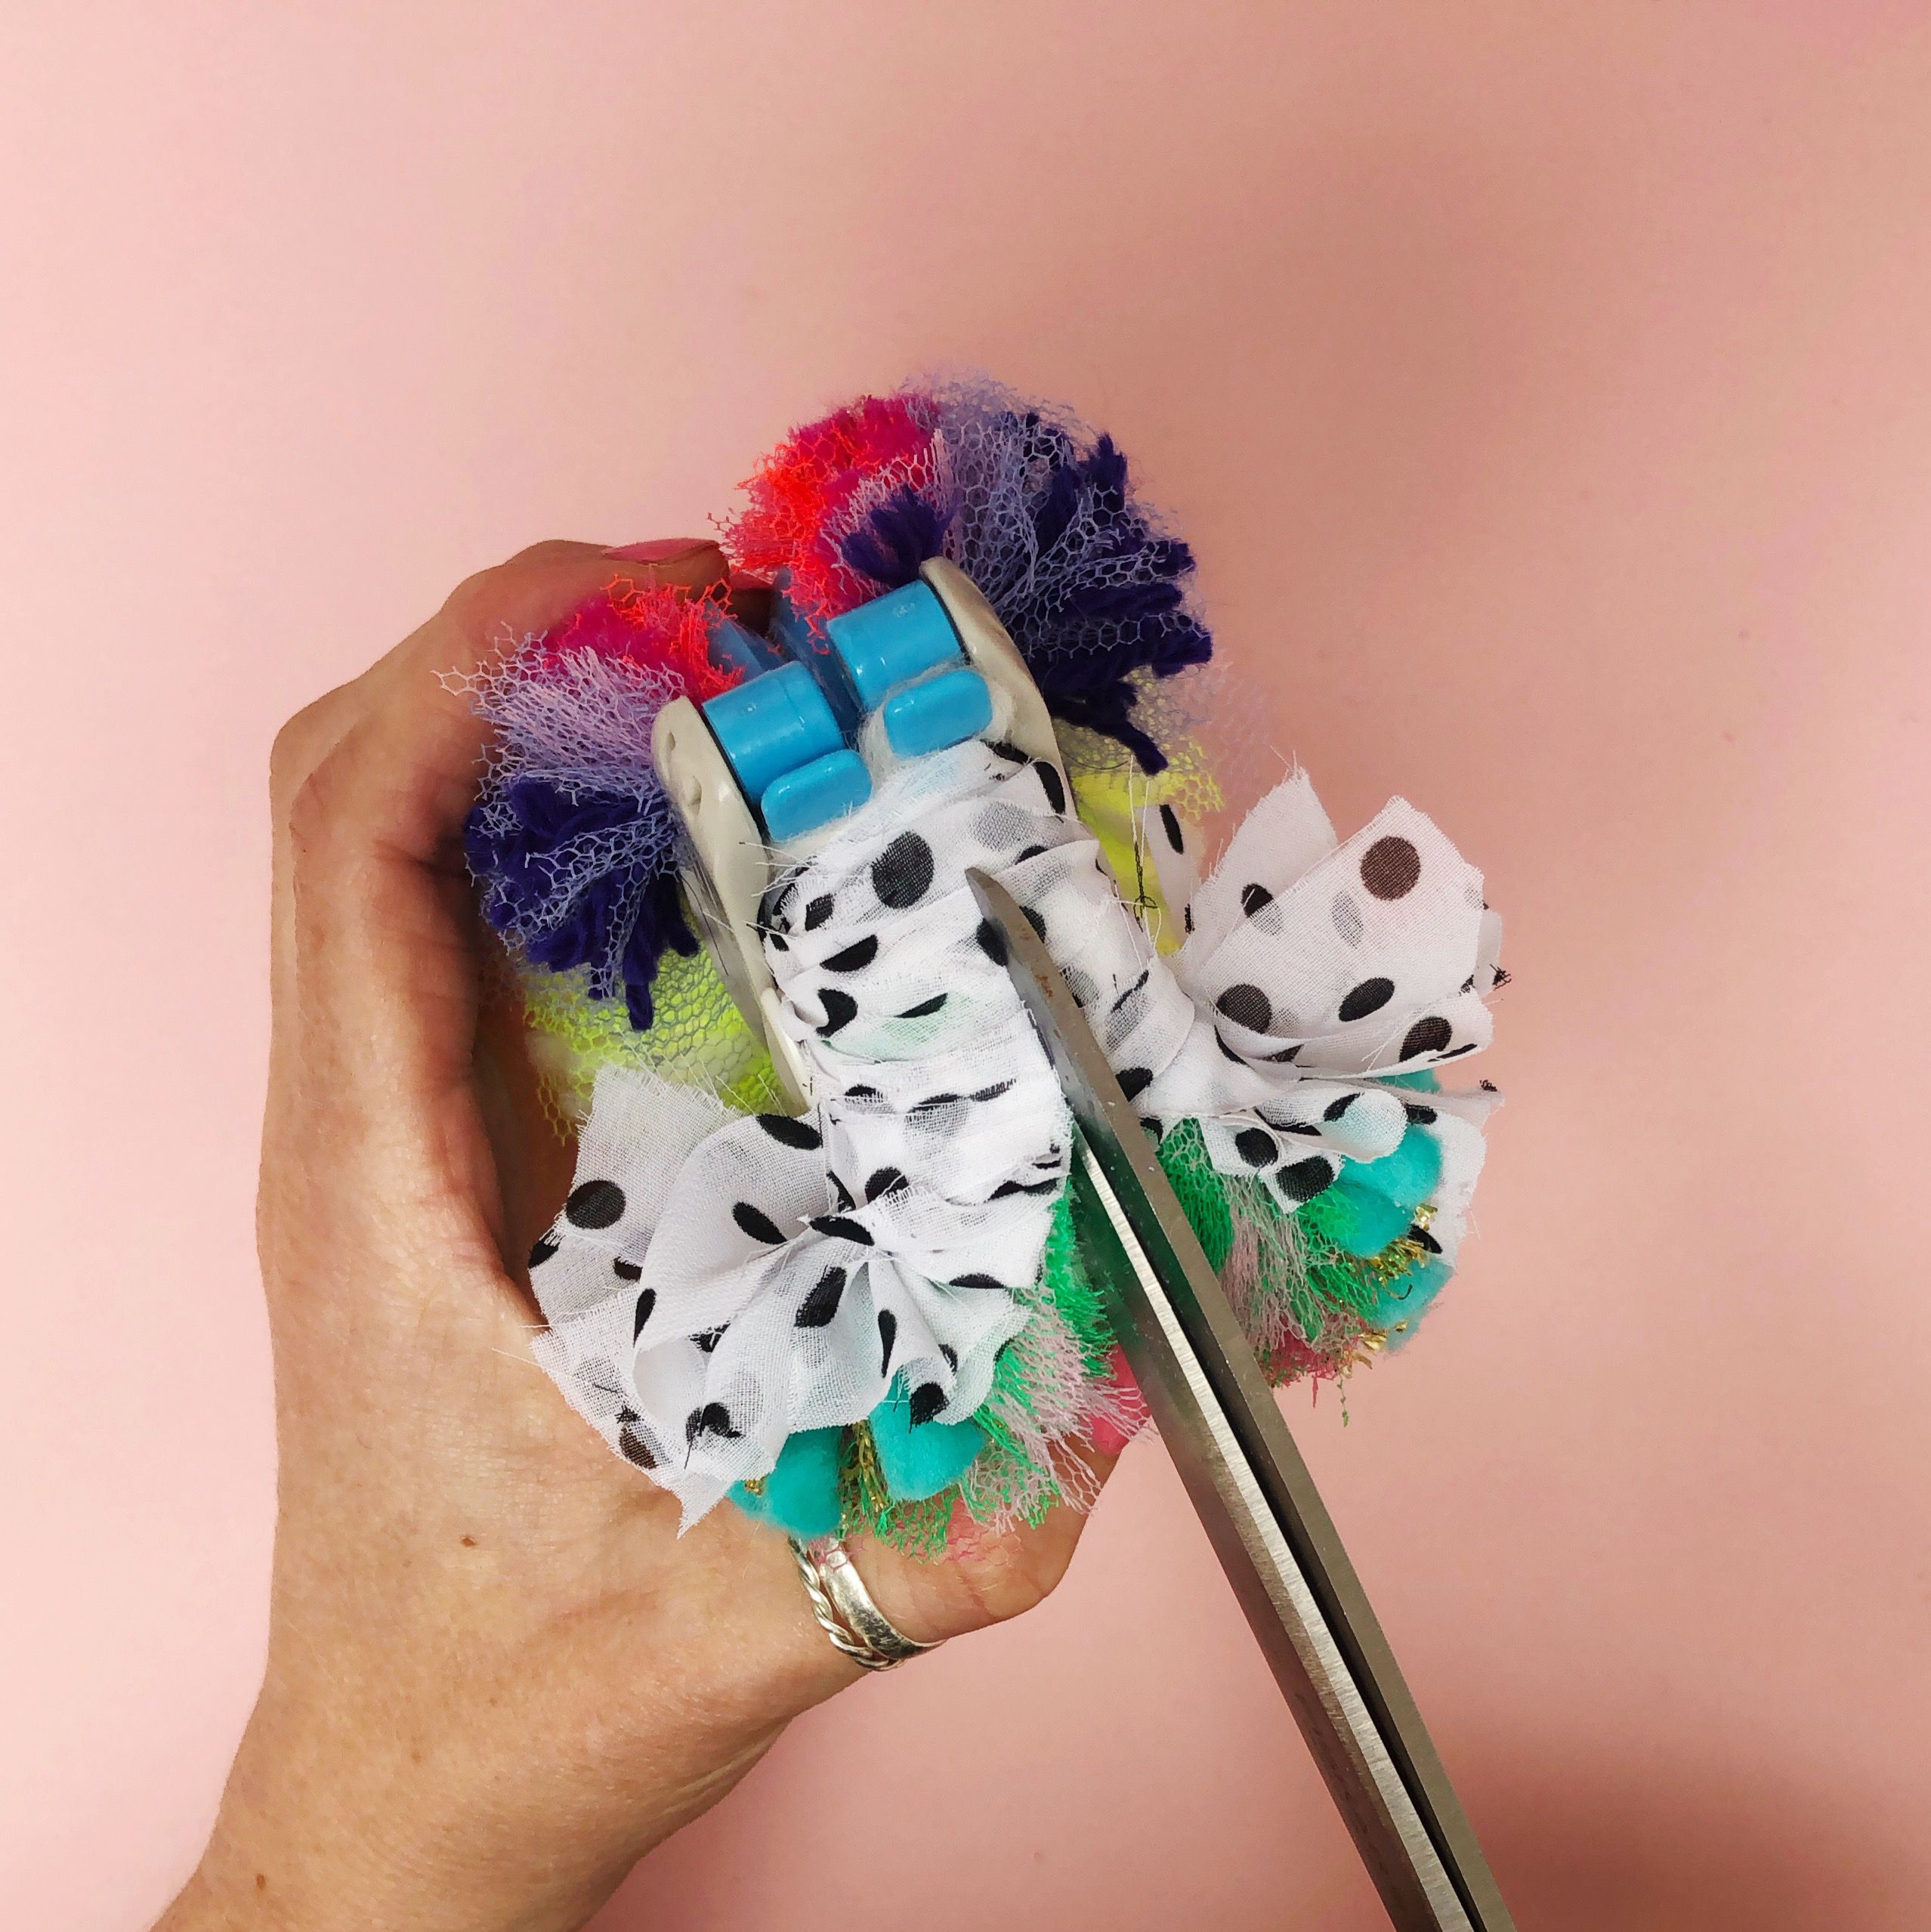
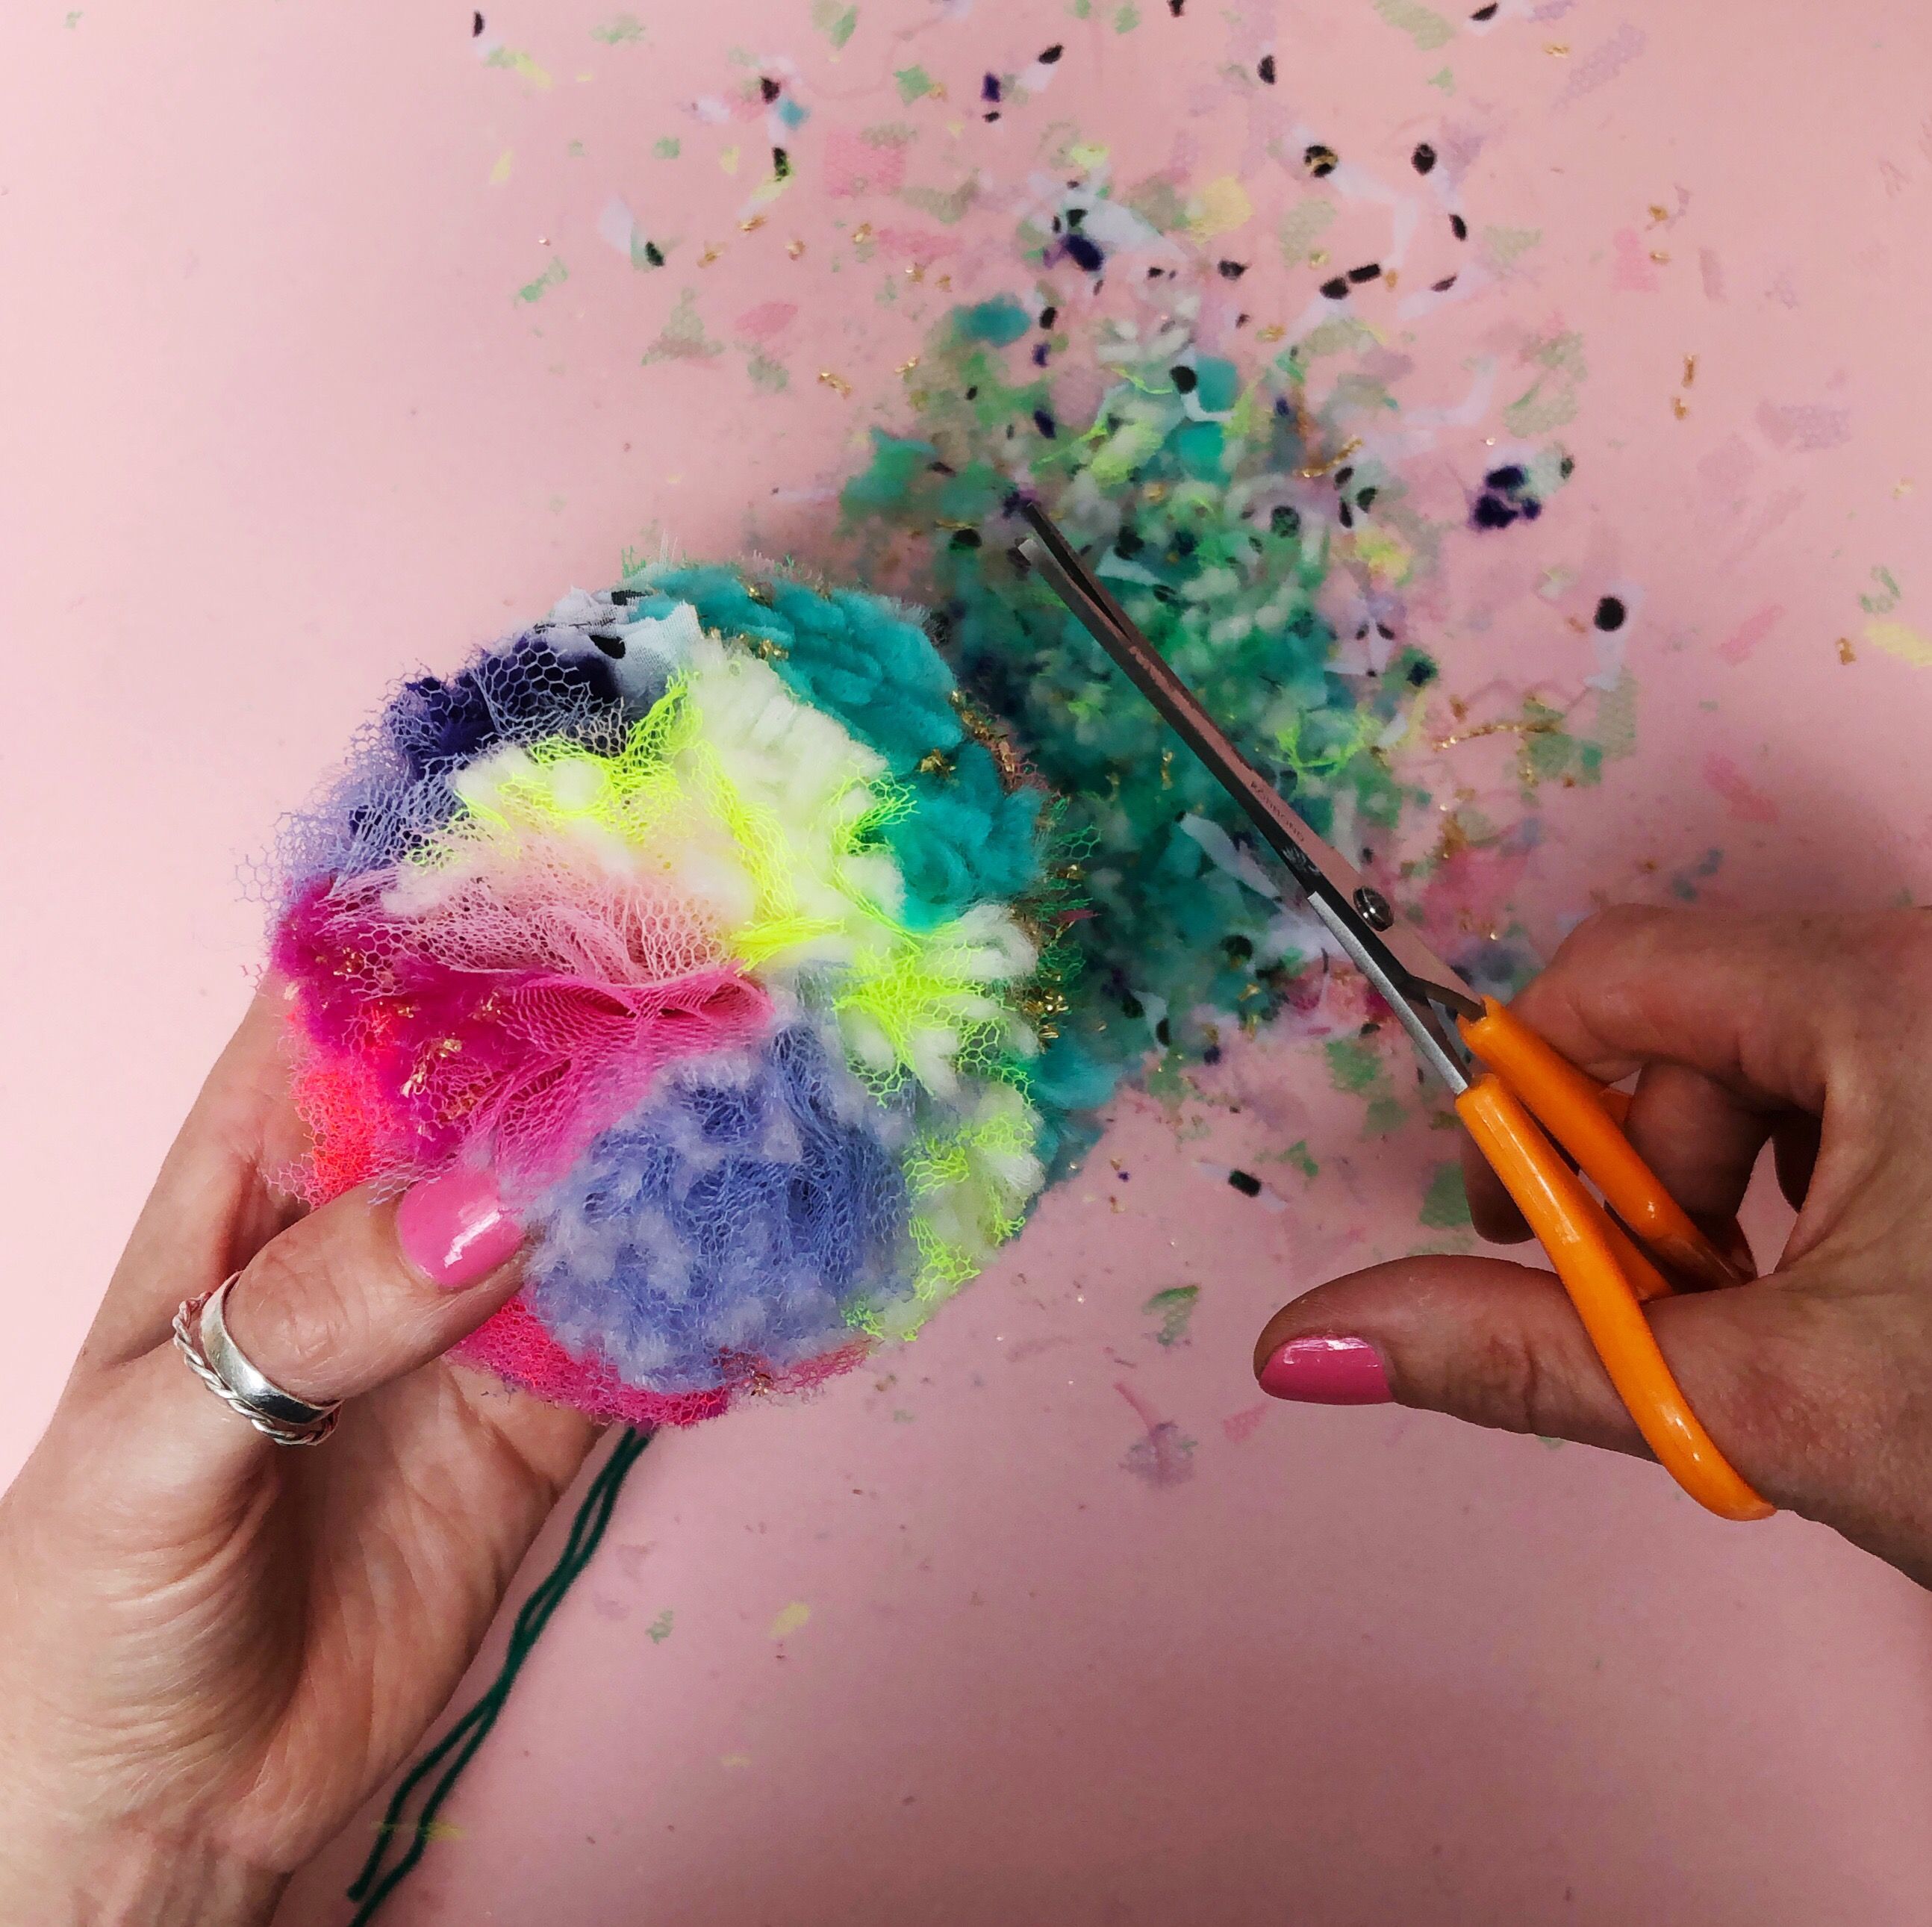
- When your maker is full. Carefully cut through all the layers of yarn and strips till you can see the inside of the maker.
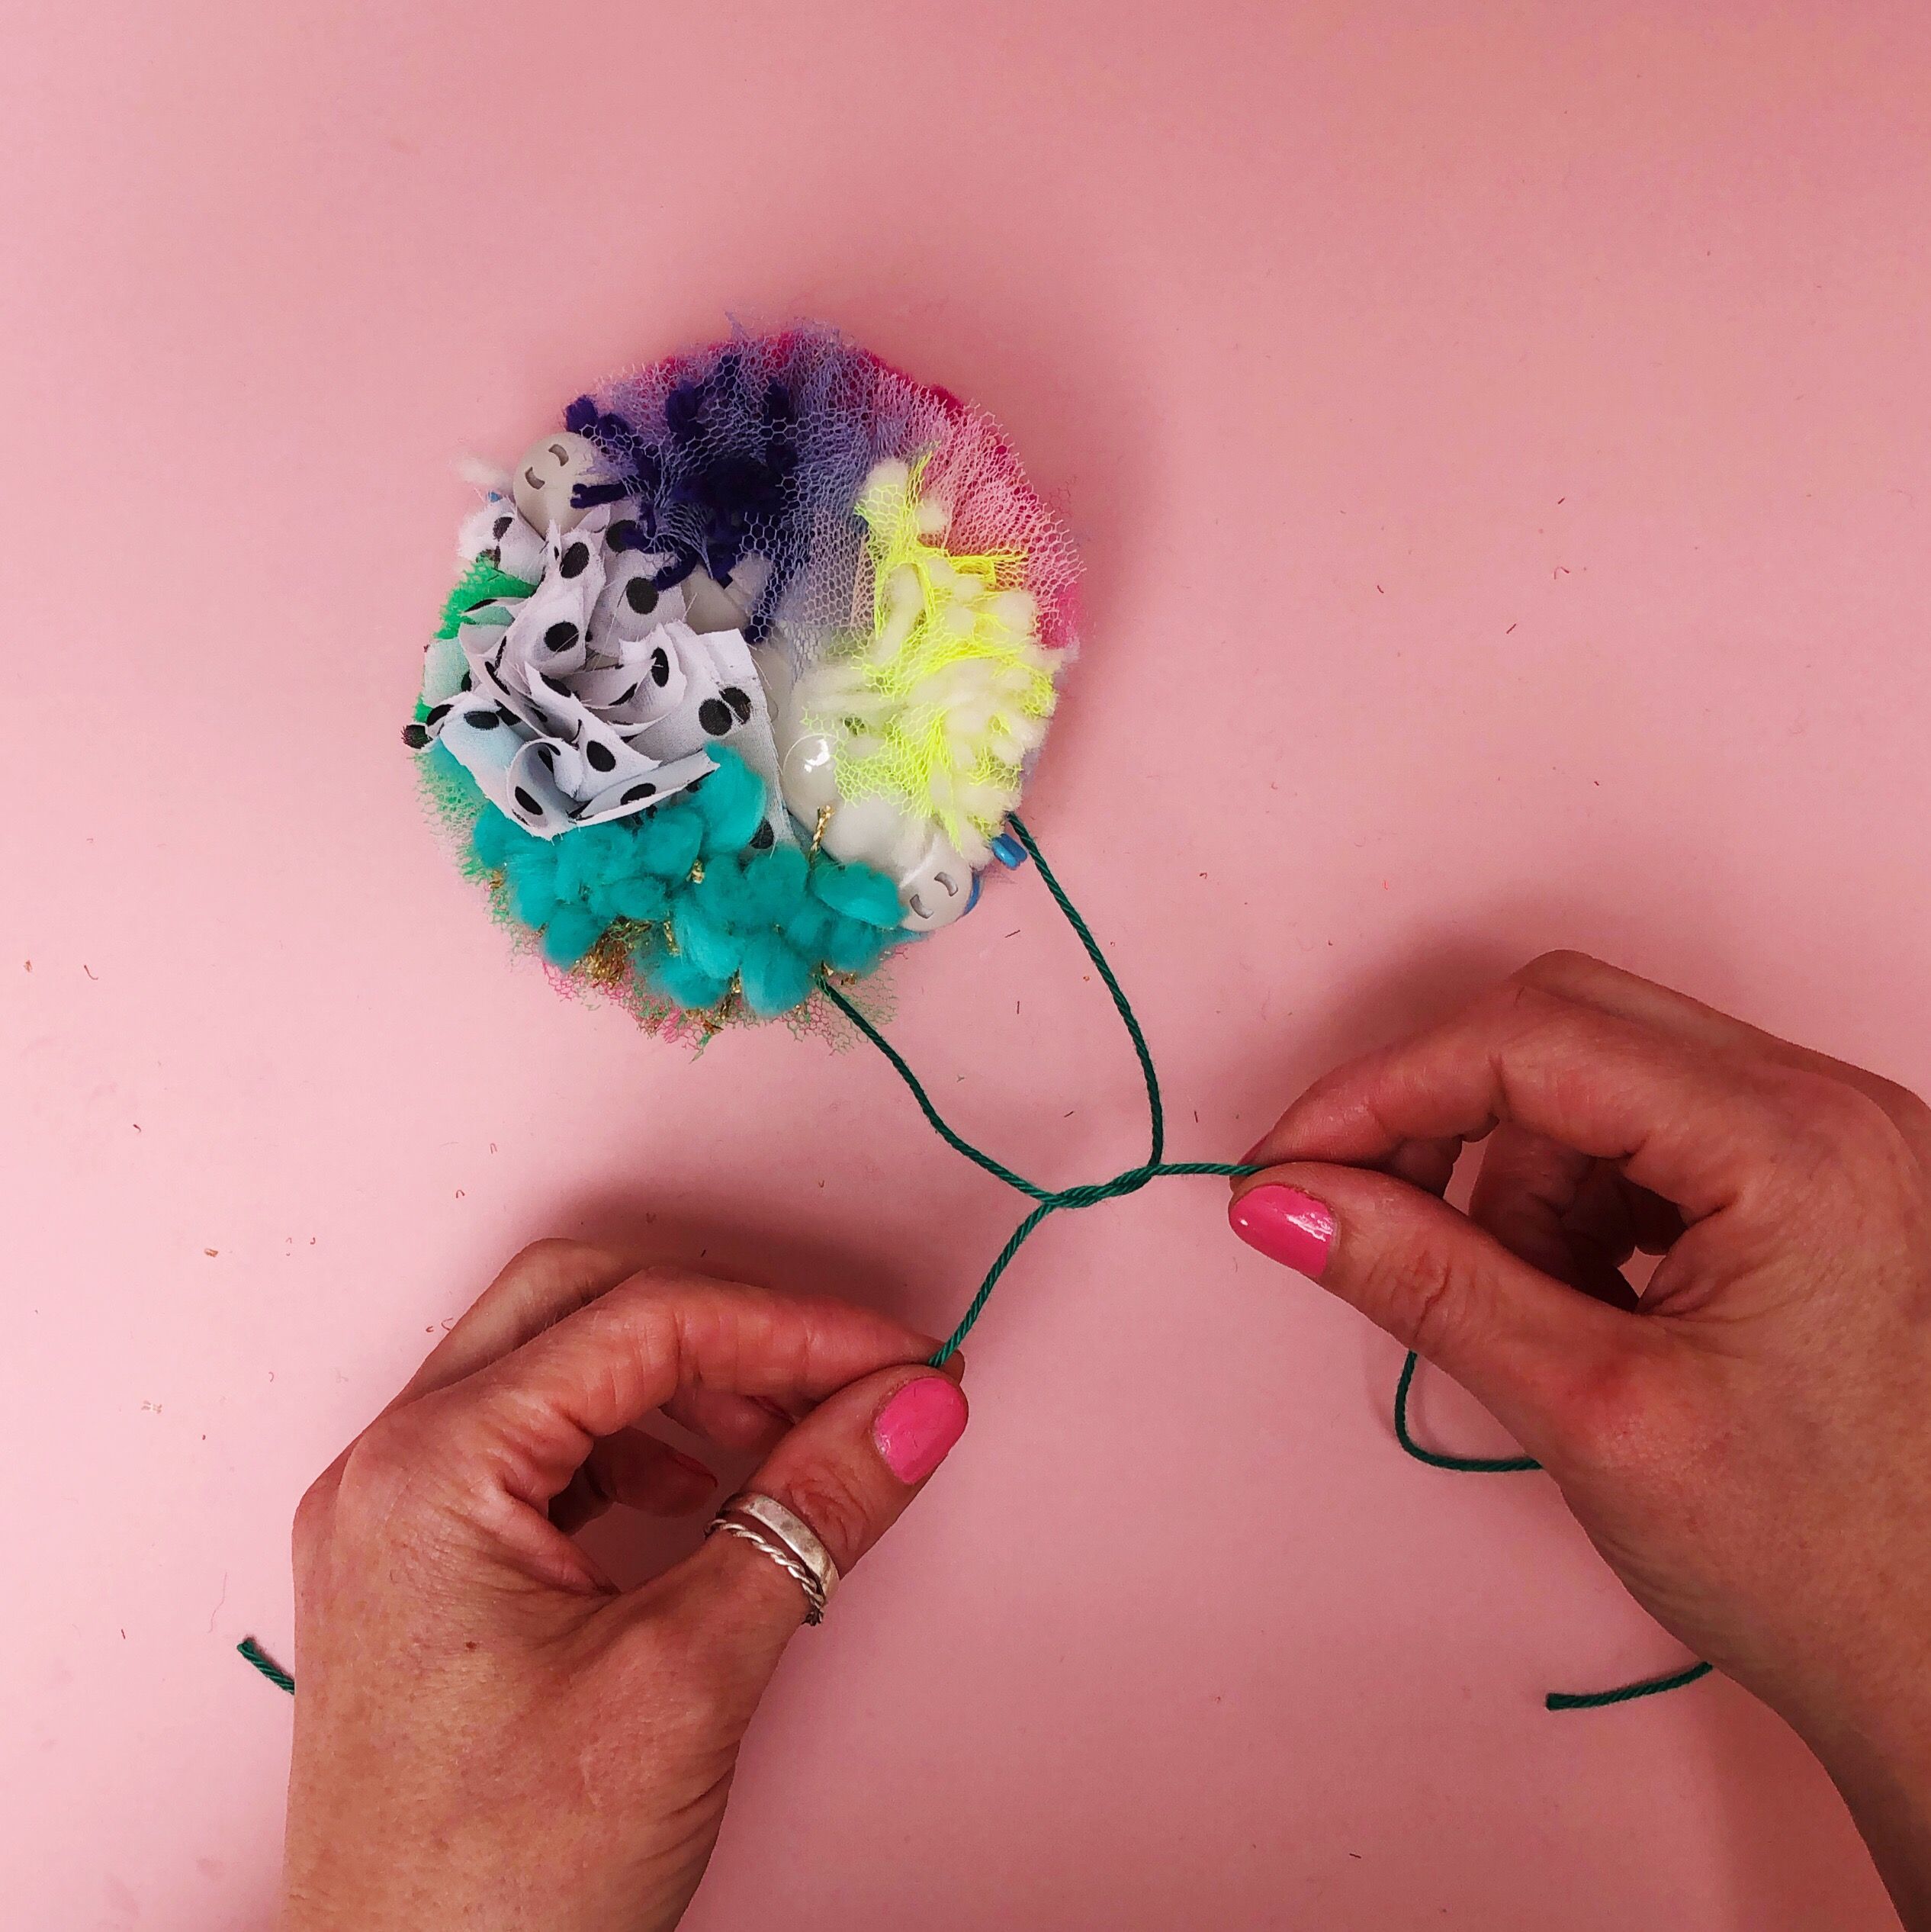
- Take a 20cm length of strong yarn and wrap it around the middle of the pompom between the two halves of the maker. Tie a tight knot. Wrap the yarn back around the maker and then tie a tight double knot on the opposite side to the first knot. This ensures the pompom is tied nice and tight and won’t fall apart!
- Remove the two halves of the maker. Give your pompom a shake and then trim any sticking out bits till your pom is nice and spherical.
- Make more pompoms in lots of different sizes and with different combinations of yarn and fabric strips. It’s nice to do some with just yarn and some just tulle and some as simple mixes of one colour yarn and tulle.
To construct the headdress:
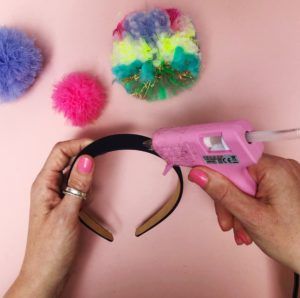
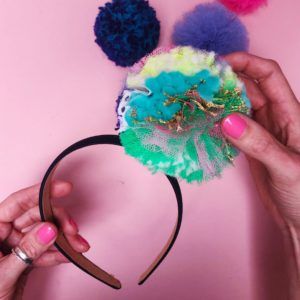
- To fix the pompoms to the headband simply apply quite a lot of glue with your glue gun onto the headband in the position where you would like your main (largest) pompom to go. Quickly place the pompom on the glue before it dries and press firmly to secure. Repeat with your other pompoms till you are happy with the design.
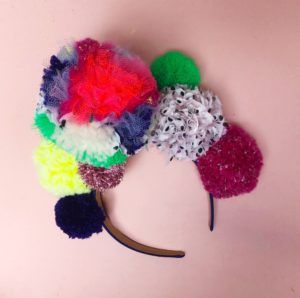
- Wear with pride!
Watch the full video tutorial here.
Shop our yarns here.
And find out more about super crafter sewyeah here.