
How to use a pom pom maker
Tired of spending time cutting out cardboard circles to make your pompoms? Want to make pompoms fast and fun? Then our Pom Pom Maker is the new product you’ve been waiting for!
Everyone knows that a big fluffy pompom on top of a hand knitted hat is like a shiny cherry on top of a delicious cake. Using a pompom maker, you can make double the pompoms in half the time. Want to know how to get the most out of your new toy? Then read on!
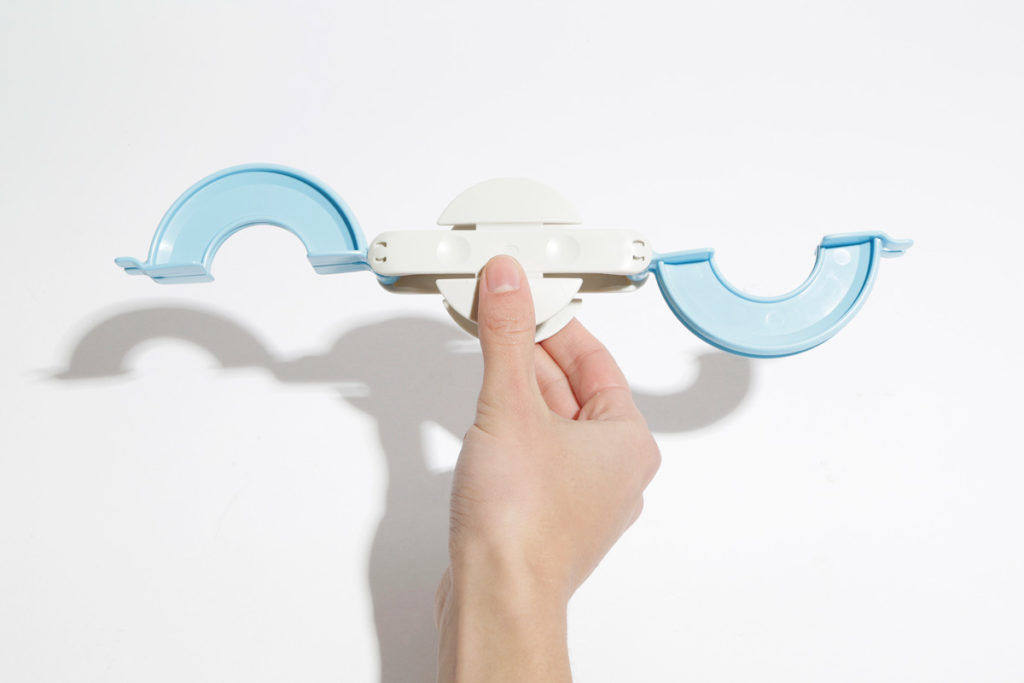
So this is what your pom pom maker looks when you fold out the two sides:
Begin by wrapping the yarn around one of the arms. Stop when the arm is full and looks like the picture below.
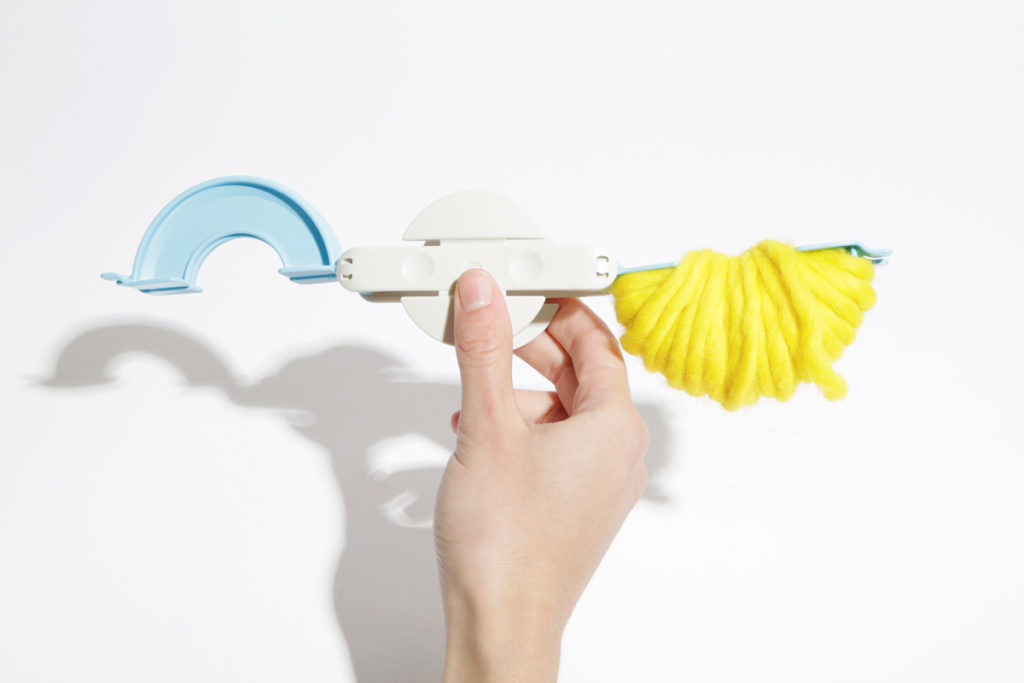
Cut your yarn and fold the full side back to the middle. Repeat the wrapping on the other side.
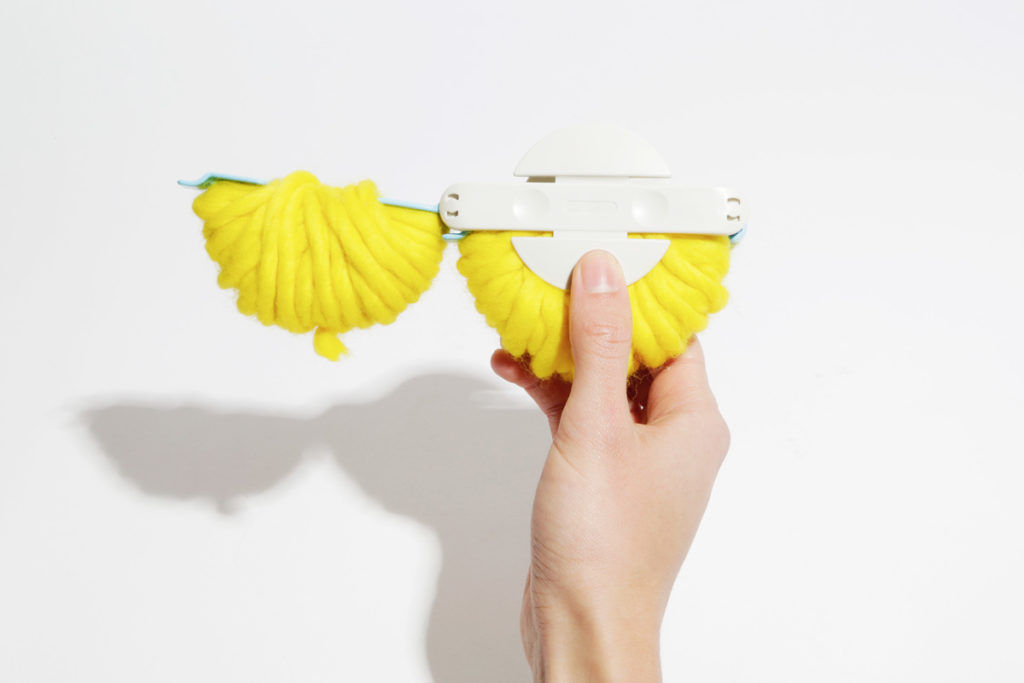
Cut your yarn and fold the two arms back to the middle.
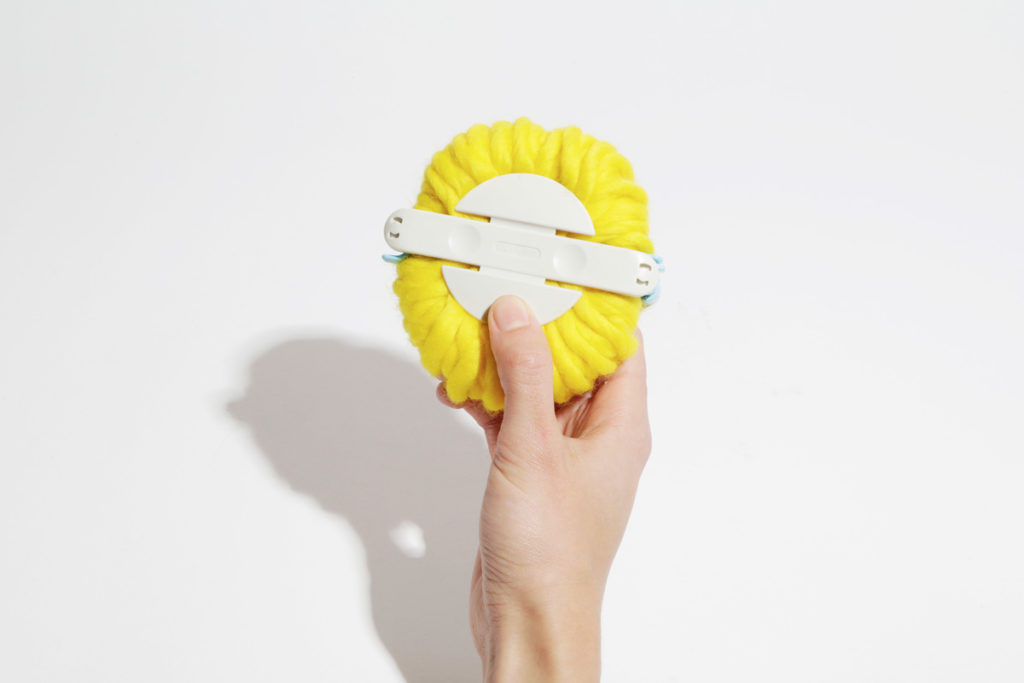
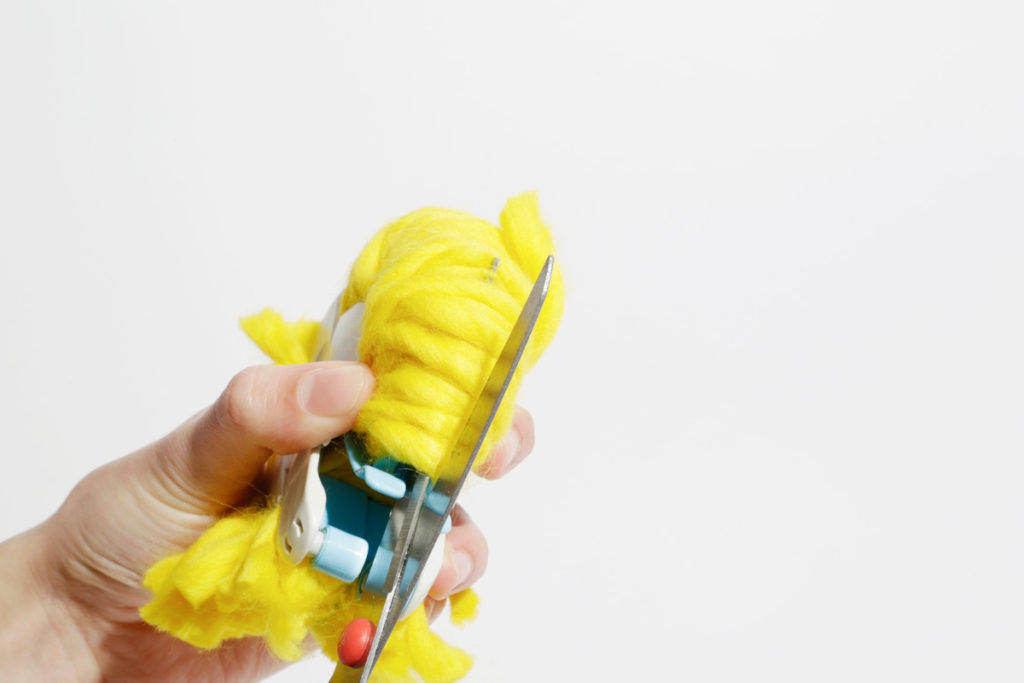
Now take a pair of sharp scissors and cut around the outside.
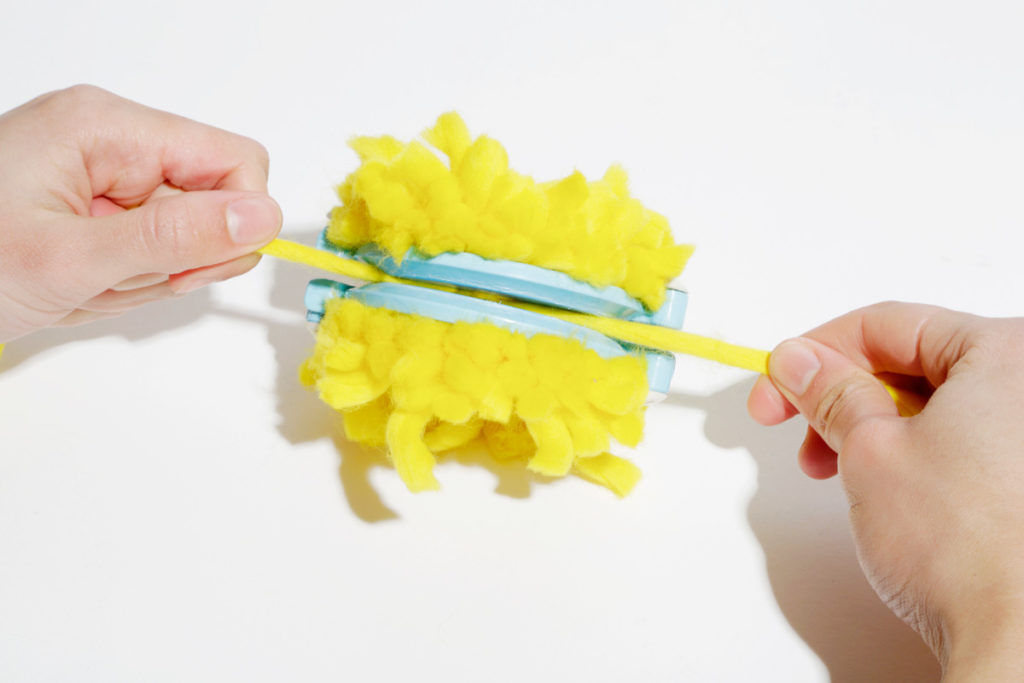
Cut a length of yarn approximately, wrap it around the circumference of the circle several times and tie a secure knot. Make sure you leave a long enough tail so that you can sew the pompom to your hat. We recommend you give it a trim to make sure it’s looking it’s best!
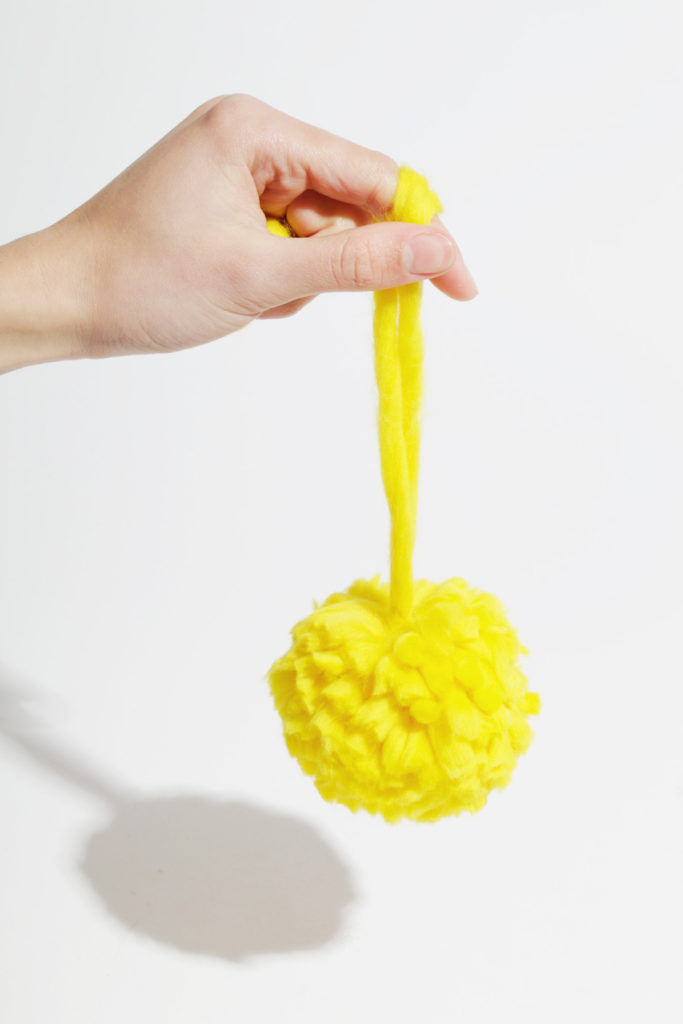
Ta da! You have a big squishy pompom with minimum fuss and maximum fun!
Thank you for reading our Pom Pom Maker guide!
Fancy trying it out for your next project? Shop our range of Pom Pom Makers now!